threefunnyvoices

Life, How To's, and Other Various Ramblings

Ice Cream Dough July 24, 2013

As previously mentioned in other posts, it is hotter than hot here. Maybe it is because we are freshly relocated and this is our first summer below the Mason Dixon…but I personally think it’s just HOT.  It’s so bad that the other day I asked my little one to come outside with me and he ran excitedly to the door, stopped short of crossing the threshold and then he said “Mama…it’s too hot! I’m going to color!”. This is coming from the child who lives to be outside.  Unfortunately part of the conditions for living in the complex we live in is no swimming pools or hoses. This is not cool…literally or figuratively.

Now I am faced with finding things to keep him occupied inside…and have a limited budget for new products at the moment. Can you say “challenging”?  I set to scouring Pinterest for new ideas and I found this one .

How could it possibly be as cool as it seems? Well, trust me when I say that it is! We are just cleaning up from 90 minutes of hardcore playtime.

Since I have this need to eyeball most measurements when it comes to things like this, I know I didn’t make it exactly right but we came darn close. And the best part is that it cost me less than a $1.

We dumped approximately 1 ½ cups of cornstarch into a mixing bowl. Then I took all the conditioner samples I have laying around the house. I figured out which ones would smell similar and took to squeezing 9 little packages into the cornstarch. I started to mix it and instead of coming together as a dough, it was mealy. I added  water about a teaspoon at a time until it started to come together as a dough. Once it got to the consistency I liked, I divided it into three equal(ish) balls and placed them in their own little containers.  Then I added about half a pack each of Duncan Hines Frosting Creations Flavor Packets. They worked GREAT! Added a nice color and even made the dough smell like something other than conditioner.

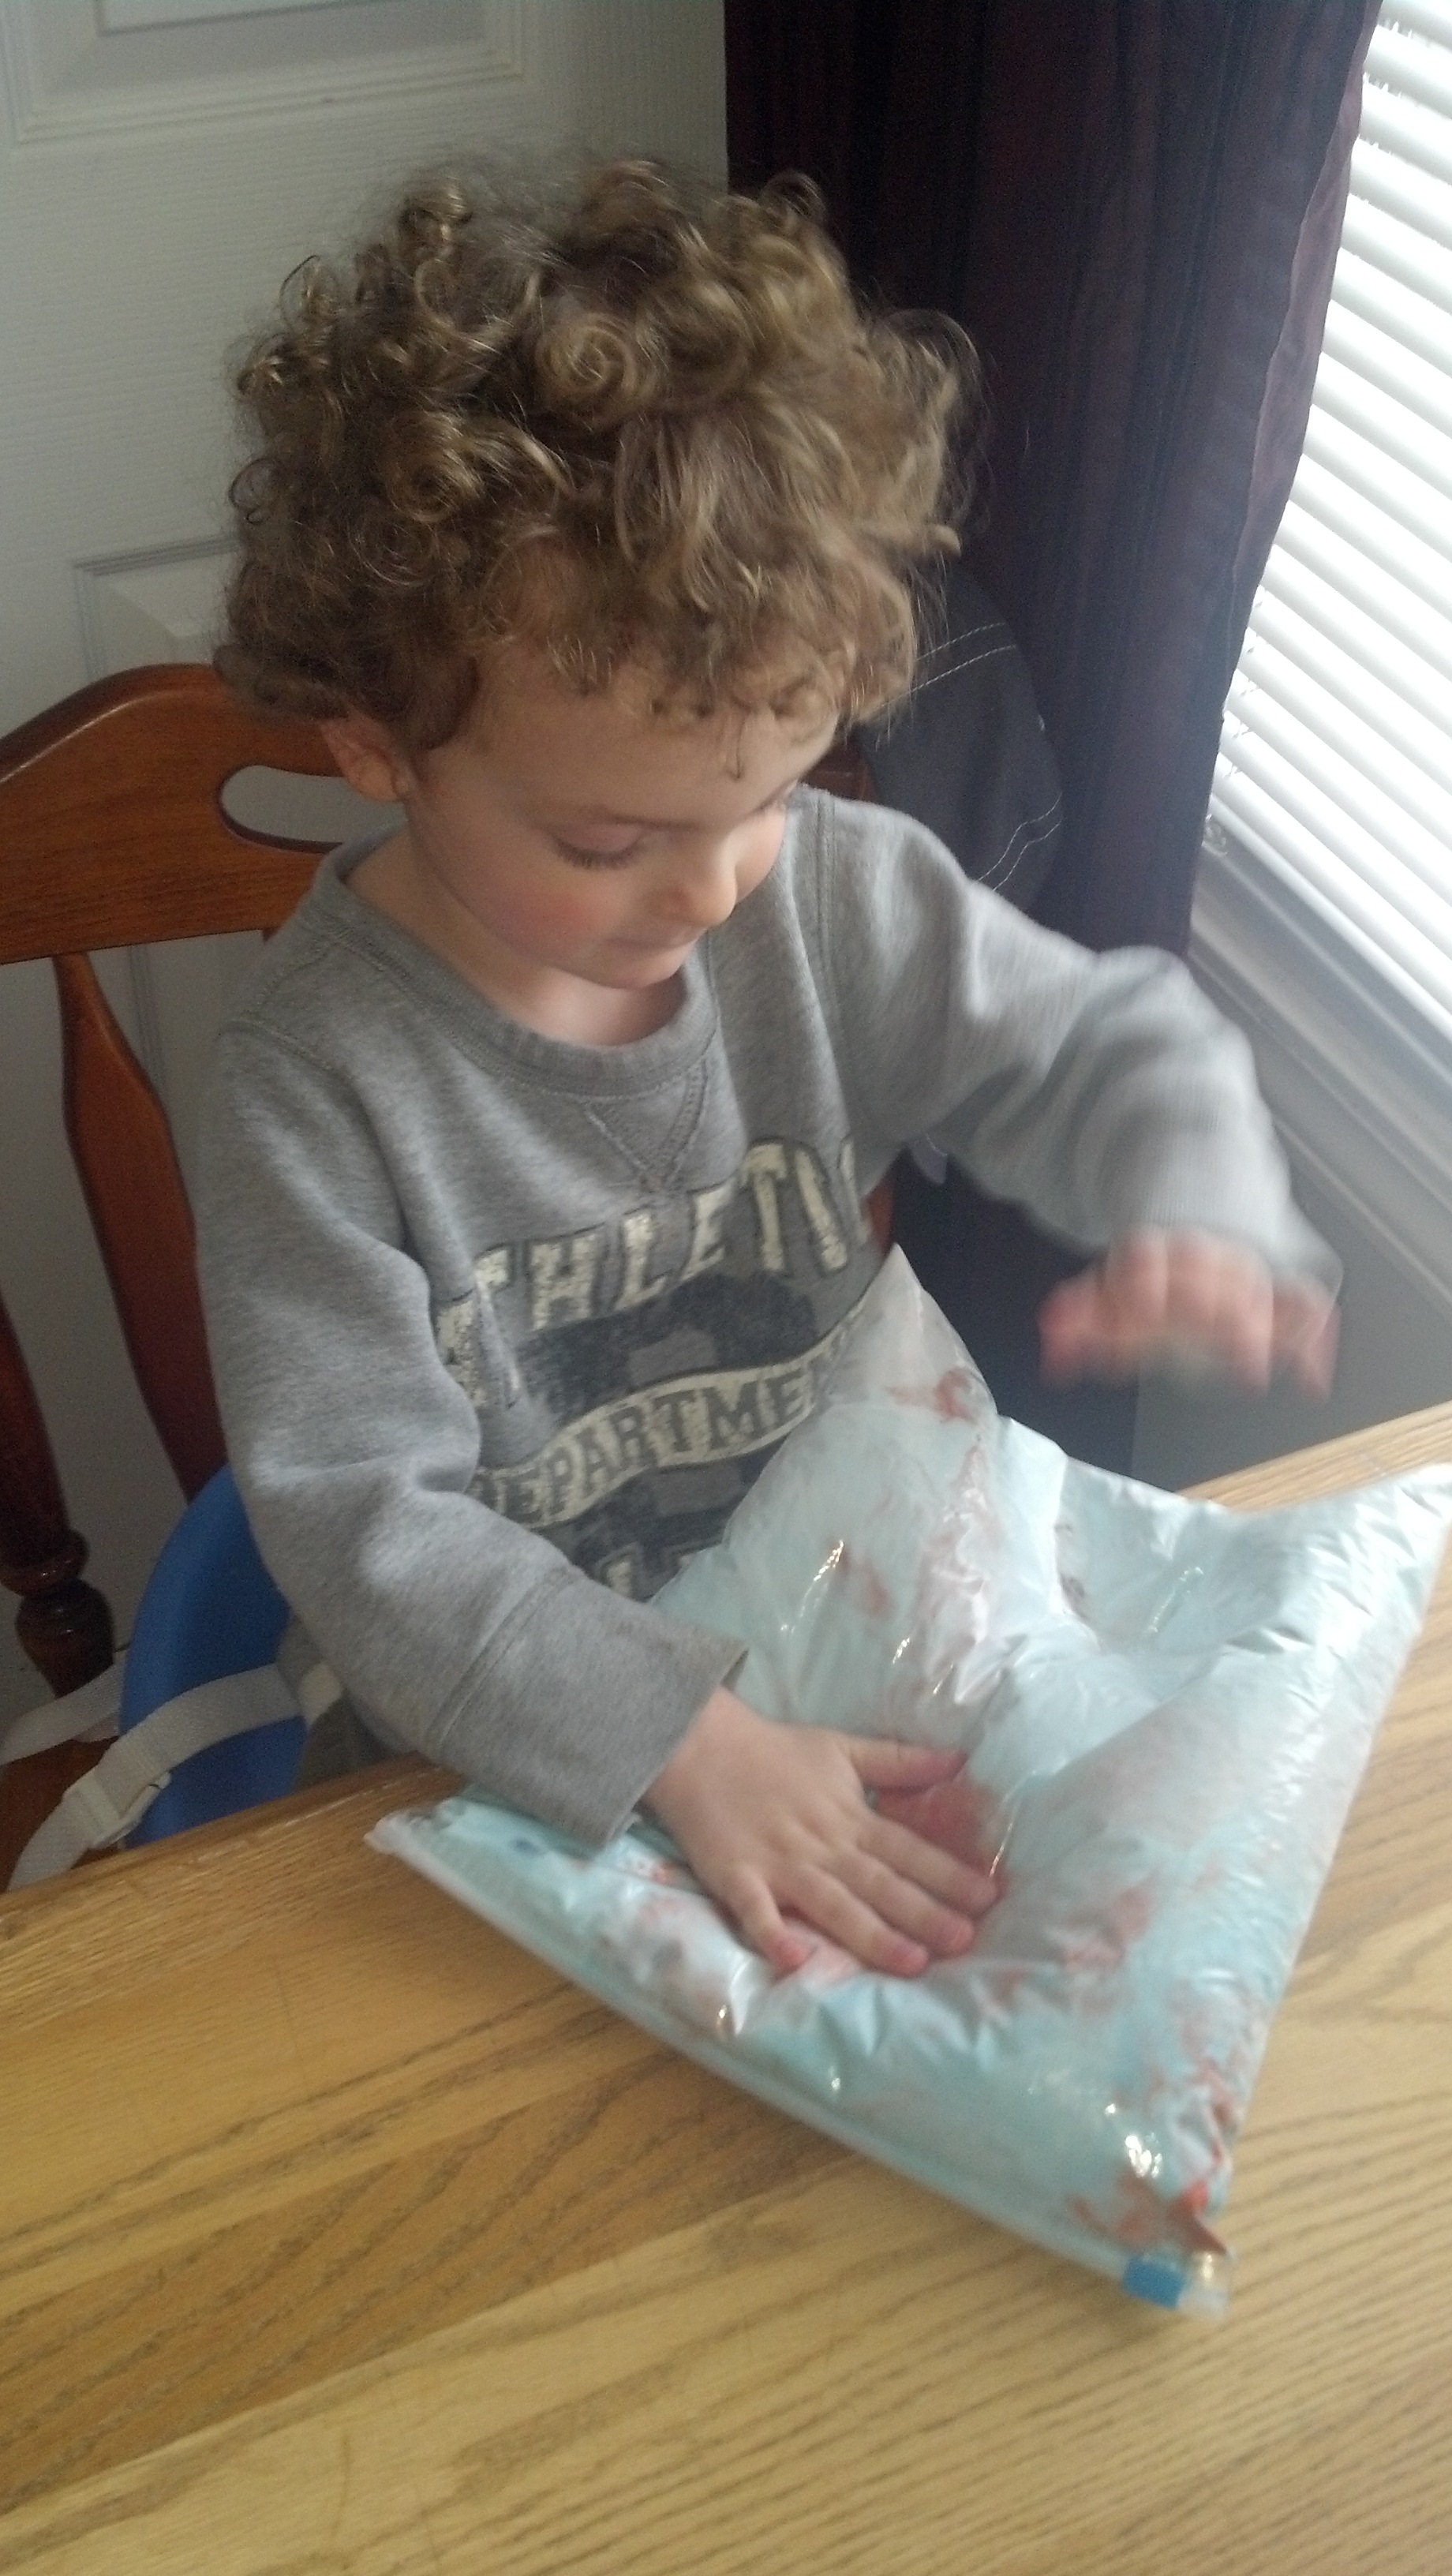
We gathered all of the little plastic ice cream cones we have for the boys kitchen set, various dishes and “Toppings”. After the spread was all set up we went to town. It was a great way to pass the time without any kind of screen in front of us and he thought I was actually letting him play in ice cream. Crazy kid….

~C


PS….sorry that the photos are all of smooshed ice cream. It really does ball up nice and look like ice cream but someone in these photos couldn’t let them stay looking pretty. He needed to smash them all. Boys…


photo


photo(1)


Ice cream dough 1


photo(2)


How 2 Cups of Flour and 2 Cups of Water Saved My Sanity April 22, 2013

By the time the milk paintings were complete, I thought that B was ready to calmly face the world. HOLY MOSES WAS I WRONG!!

What to do? What to do?

Then I remembered reading a post a while back about “Magic Playdough” The woman who wrote the post makes astronomical amounts of plain play dough every year for the first day of school. She separated the dough into individual balls (saving two balls to use later), pushed a well into the top and added 7-10 drops of food coloring into the well. Then, she took took the two balls she had held back, and used little pieces to plug the hole in the others. The goal is to have a collection of plain colored balls that look like there is nothing special about them. She then wrapped them up, added a little note about “mix and mash and if color should appear, it will be a great school year”. I thought this was adorable and wanted to try it at home…sort of.

We obviously did not need 50 balls of play dough so I scaled the recipe WAY back and added a little extra something to it. Here is what I came up with.

Magic Play Dough

2 cups of flour

2 cups of water

Lavender Essential Oil

place all ingredients in a pan on the stove and cook slowly (while stirring regularly) until it comes together and looks like dough. When it is done, place it on a piece of wax paper and knead it until it is nice and smooth. Divide into 6 balls and put two back. With the remaining 4, use your thumb to push a well into the balls. Add 7-10 drops of food coloring per ball. Fill hole with pieces of dough from extra 2 balls and GENTLY form them so that they look like a plain white ball of dough.

2013-04-22_12-02-27_646

As the dough was cooling, I lined the table with some wax paper and taped it down and got some plastic silverware and other small things that would make fun imprints in the dough.

2013-04-22_12-02-18_393

Then I unleashed the wild child on his first real encounter with play dough…

We mushed, and folded, and mushed and folded and mushed and folded and mushed and folded…

2013-04-22_12-08-06_726

And ended up with these (I would add more red food coloring next time)

2013-04-22_12-12-46_445

It took no time for him to discover that it smelled good (and all that lavender helped calm him down…like, whoa)

2013-04-22_12-08-13_914

And it felt good

2013-04-22_12-14-49_37

And because I made it, I knew exactly what was in it and I didn’t freak out when he did this…

2013-04-22_12-19-43_318

Let the games begin…

2013-04-22_12-22-23_6

2013-04-22_12-19-28_966

2013-04-22_12-22-29_768

2013-04-22_12-19-55_885

And THAT is how 2 cups of flour and 2 cups of water (and a little Lavender Oil)  saved my sanity!

The dough will store nicely in ziploc bags and keep for quite some time. Best use of flour and water I have seen in weeks!

~C

PS: As I sat, enjoying the quiet stillness that this activity blessed me with, I couldn’t help but think that this would make for a GREAT party favor for your little ones birthday party…especially if it is a Magic theme!


Milk Painting

I knew this morning when I woke up that it was just going to be one of those days. When the boy woke up he solidified the fact. He was INSANE all morning! I decided to take to my arsenal of kid projects (aka pinterest) and occupy every possible second of his day. I stumbled across “Milk Paintings” (http://flutterflutter.ca/2012/03/17/spring-break-diy-milk-art/). These were fun and a great way to use up some old milk that we had sitting in the fridge. They were really easy as well.


All you need is:

Milk (2% or whole)

A plate

food coloring

cheap liquid dish soap


2013-04-22_11-26-03_316


Pour a thin layer of milk onto the plate

2013-04-22_11-26-50_273


Add a few drops of food coloring to the milk

2013-04-22_11-32-10_566


Slowly drip a few drops of the dish soap onto the plate and get ready. The magic happens quickly. You go from the picture above to this:

2013-04-22_11-32-20_449


To this:

2013-04-22_11-32-28_931


to this:

2013-04-22_11-32-36_460


When the swirling stopped, I handed the little one a fork and let him experiment with mixing colors:


2013-04-22_11-32-47_4252013-04-22_11-32-50_369


We made three or four different paintings and he enjoyed every second of it!

~C


It started out so simple… March 25, 2013

And it became a HUGE mess!

While my boy and I were out at Kids Fest this weekend, we stumbled upon an activity center that had gallon bags full of shaving cream and food coloring. The kid LOVED it and it was simple enough that I knew I could replicate it at home, which is exactly what we did this morning.

It started out simple enough. Gather a few gallon zip seal bags, a can of shaving cream and some food coloring.

I let the kiddos spray the shaving cream into the bags and choose the colors they wanted to use. (Shockingly, they both wanted to use the same colors. Now, had I suggested this, it would have been the beginnings of WWIII, but since they did it on their own, it was the best idea they had all morning!)

After sealing the bags, they set to squishing…

2013-03-25_10-47-26_56

…and pounding…

and adding more colors.

Then they realized that we could OPEN the bags and play with the stuff inside which meant I better act fast. I stripped them down to their skivvies and plopped them in the tub. Lord above did they have fun. From this point on, it all got a little fuzzy. There was slipping and sliding, giggles, splatters of shaving cream flying and LOVELY artwork being created right before my very eyes. When all was said and done, we ended with this scene…..

2013-03-25_11-02-01_134


2013-03-25_11-09-12_626


2013-03-25_11-10-06_709


2013-03-25_11-13-16_74


2013-03-25_11-15-52_419


2013-03-25_11-18-22_294


If you ask the kids, it is the best thing they have done EVER and they would like to do it when we get together again tomorrow. MOM on the other hand thinks that this much excitement should be experienced once every few months!


~C


Why should kids have all the crafting fun?? February 25, 2013

I hate my kitchen window…my kitchen in general…but definitely the window.

It has white blinds and looks out onto a farm supply company and a light pole. WHOOPIE! It is so blah and OF COURSE that is where my sink is, so I look at blah all day….until this weekend came! No, I didn’t move but I got crafty…literally. (Shocking, I know)

I had some frosted glass ornaments and acrylic paints left from this past Christmas and the gift that my son made for everyone. They were just sitting in my closet taking up space so I decided to do something with them. I took to etsy.com and found some ornaments that I could easily make and this is what I came up with….

They are SO fun to make and look at…and easy as can be.

Here’s the lowdown

1. Gather clear/frosted glass/plastic ornaments with the removable tops and acrylic paints .

2. Remove the top and add small amounts of pain to the inside of the ball

You can either put the paints in the ball in separate areas, like I did here, or you can pile in all in on top of one another. If you choose to do the second option, I would use smaller amounts of paint and do the layers in three or four spots around the inside of the ball. It will make it easier later on.

3. Place your finger over the hole and shake.

Word to the wise…Don’t space out and forget that you are holding something in your hand and drop it….not that I would know by experience or anything. Also, have an old rag to wipe your finger on. It will get paint on it.

You may need to add a little extra paint as you go along, but that’s ok. Less is more in this situation.

4. When you are done shaking, you should end up with something that looks like this:

5. Put the balls back into the box they came in, leaving them uncovered, and place it somewhere safe that it will not be disturbed for the next 24(ish) hours so that the paint can dry.

6. Once they are dry (or at least dry enough that the paint isn’t running everywhere) place the top of the ball back inside. Be careful…

7. You can stop here if you like.

They are pretty and will serve their purpose. Personally, I like to fancy them up a bit, taking them from this:

To this:

The bows are SUPER easy to make… Here’s a photo I got from wantu.taobao.com

Once you are done with the bows, simply hot glue them to the top of the ball, close to the loop that you use to hang the ball.

That’s it! SO easy, right??

Here are a few of the ones I created this weekend:

2013-02-25_10-10-13_4862013-02-25_10-11-09_400

I have three of them hanging in my kitchen window at various lengths. I LOVE them. They add a pop of color in a plain white room overlooking a rather blah scene. Because of the shape and colors they do not make it look like I forgot to take down my Christmas decorations, which adds to my love of them as well. I will get a picture of the window up, just as soon as night comes and the colors will actually show up.


~C


Looking for Something to Do With Those Empty Toilet Paper Rolls? February 22, 2013

For some reason, I felt like I should keep my empty t.p. rolls….and now I have an overabundance of them. (It would have behooved me to have a purpose for them when I started saving them because I have enough of them to arm the entire neighborhood with today’s craft project. *sigh*)


Anyway….


I recalled that somewhere along the line, either as a big sister, a baby sitter, a classroom aid in a daycare or in my Childhood Development classes, we made binoculars out of T.P. rolls.  This was perfect timing because B is a huge fan of playing “explorer” right now so we took to the task of making him a set. It was so easy…and took no time.

HERE’S WHAT YOU WILL NEED:

2 empty tp rolls

glue gun

markers/crayons/paint/stickers (whatever you want to use to decorate them)

ribbon/string/yarn (something to make a strap with)


Start by plugging in your glue gun so it is ready to use when you need it

Set up your little one with the rolls and the chosen decorating tools and let them go to town. (While they are doing this, the adult can cut the ribbon they will need to use as a strap)


2013-02-21_12-45-59_92 2013-02-21_12-46-31_286


After you have accomplished the task of decorating your one of a kind binoculars, it’s time for an adult to glue them together. Just run a line of hot glue along the side of one of the tubes and press the two tubes together.

Now, add a dot of glue on the inside of the tube, but on the outside curve, on both tubes and attach your ribbon.

When you are done, you should have something that looks a little like this:


That’s it!

Now, if you are into something a little more structured and decorative, you can find instructions on how to make camo binoculars here: http://www.freekidscrafts.com/binoculars-e1148.html

I am sure that if you search Pinterest, there are lots of patterns and ideas, but I prefer to let B make his own design.

Ok…go enjoy yourselves and let us see some of those lovely creations!

~C


A Hug From 1500 Miles Away February 21, 2013

The boy’s Gimah lives 1500 miles away (give or take 500. I haven’t calculated it exactly…but rest assured she lives far away.) and therefore we are always looking for new things that he can make to send to her. I recently stumbled across “Send a Hug” on Pinterest. The ladies at http://www.supermommoments.com came up with this one and we did our own interpretation of it. We think it’s a hit!  (Not to mention SUPER easy to do!)

This would be perfect to do as a yearly gift for a grandparent. It would double nicely as a growth chart that they can hang on to!

Send A Hug

Simply trace your child’s hands. Let them color them in. Measure their “wing span” and then cut a piece of ribbon or string in that length. We adhered the string with a little hot glue, one end of the string on each hand, so that it looks like your little one is coming to give the recipient(s) a hug.

We attached a personalized note on the string with a piece of clear tape.

It was so simple to make and ended up bringing tears to Gimah’s eyes when she opened her care package.


~C


The Jiggly Bits

...because life is funny.

Scary Mommy

Life, How To's, and Other Various Ramblings

threefunnyvoices

Life, How To's, and Other Various Ramblings