threefunnyvoices

Life, How To's, and Other Various Ramblings

Milk Painting April 22, 2013

I knew this morning when I woke up that it was just going to be one of those days. When the boy woke up he solidified the fact. He was INSANE all morning! I decided to take to my arsenal of kid projects (aka pinterest) and occupy every possible second of his day. I stumbled across “Milk Paintings” (http://flutterflutter.ca/2012/03/17/spring-break-diy-milk-art/). These were fun and a great way to use up some old milk that we had sitting in the fridge. They were really easy as well.


All you need is:

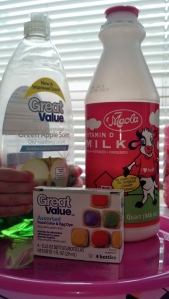
Milk (2% or whole)

A plate

food coloring

cheap liquid dish soap


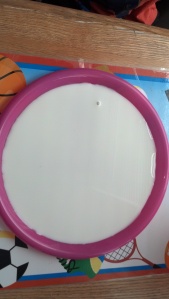
2013-04-22_11-26-03_316


Pour a thin layer of milk onto the plate

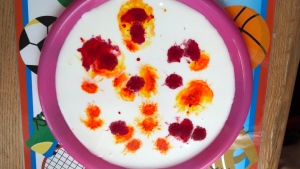
2013-04-22_11-26-50_273


Add a few drops of food coloring to the milk

2013-04-22_11-32-10_566


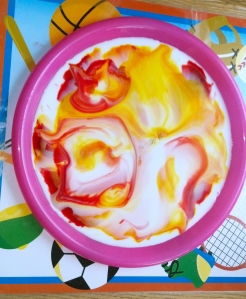
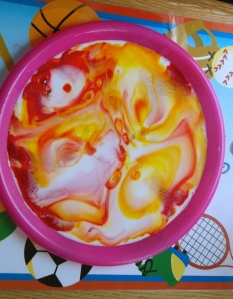
Slowly drip a few drops of the dish soap onto the plate and get ready. The magic happens quickly. You go from the picture above to this:

2013-04-22_11-32-20_449


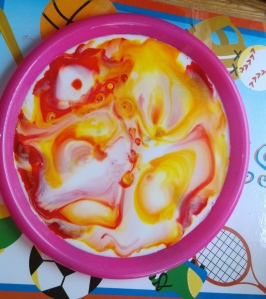
To this:

2013-04-22_11-32-28_931


to this:

2013-04-22_11-32-36_460


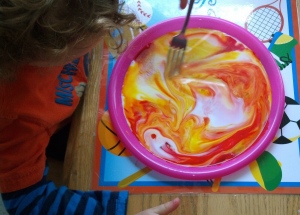
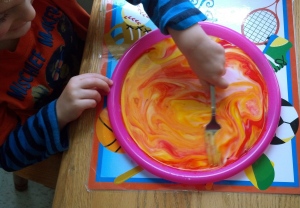
When the swirling stopped, I handed the little one a fork and let him experiment with mixing colors:


2013-04-22_11-32-47_4252013-04-22_11-32-50_369


We made three or four different paintings and he enjoyed every second of it!

~C


It started out so simple… March 25, 2013

And it became a HUGE mess!

While my boy and I were out at Kids Fest this weekend, we stumbled upon an activity center that had gallon bags full of shaving cream and food coloring. The kid LOVED it and it was simple enough that I knew I could replicate it at home, which is exactly what we did this morning.

It started out simple enough. Gather a few gallon zip seal bags, a can of shaving cream and some food coloring.

I let the kiddos spray the shaving cream into the bags and choose the colors they wanted to use. (Shockingly, they both wanted to use the same colors. Now, had I suggested this, it would have been the beginnings of WWIII, but since they did it on their own, it was the best idea they had all morning!)

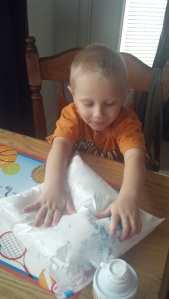
After sealing the bags, they set to squishing…

2013-03-25_10-47-26_56

…and pounding…

and adding more colors.

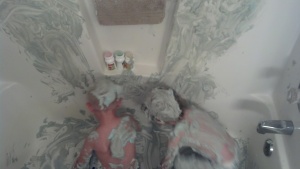
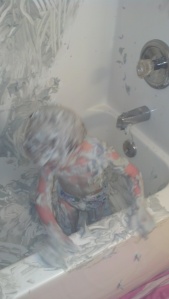
Then they realized that we could OPEN the bags and play with the stuff inside which meant I better act fast. I stripped them down to their skivvies and plopped them in the tub. Lord above did they have fun. From this point on, it all got a little fuzzy. There was slipping and sliding, giggles, splatters of shaving cream flying and LOVELY artwork being created right before my very eyes. When all was said and done, we ended with this scene…..

2013-03-25_11-02-01_134


2013-03-25_11-09-12_626


2013-03-25_11-10-06_709


2013-03-25_11-13-16_74


2013-03-25_11-15-52_419


2013-03-25_11-18-22_294


If you ask the kids, it is the best thing they have done EVER and they would like to do it when we get together again tomorrow. MOM on the other hand thinks that this much excitement should be experienced once every few months!


~C


Why should kids have all the crafting fun?? February 25, 2013

I hate my kitchen window…my kitchen in general…but definitely the window.

It has white blinds and looks out onto a farm supply company and a light pole. WHOOPIE! It is so blah and OF COURSE that is where my sink is, so I look at blah all day….until this weekend came! No, I didn’t move but I got crafty…literally. (Shocking, I know)

I had some frosted glass ornaments and acrylic paints left from this past Christmas and the gift that my son made for everyone. They were just sitting in my closet taking up space so I decided to do something with them. I took to etsy.com and found some ornaments that I could easily make and this is what I came up with….

They are SO fun to make and look at…and easy as can be.

Here’s the lowdown

1. Gather clear/frosted glass/plastic ornaments with the removable tops and acrylic paints .

2. Remove the top and add small amounts of pain to the inside of the ball

You can either put the paints in the ball in separate areas, like I did here, or you can pile in all in on top of one another. If you choose to do the second option, I would use smaller amounts of paint and do the layers in three or four spots around the inside of the ball. It will make it easier later on.

3. Place your finger over the hole and shake.

Word to the wise…Don’t space out and forget that you are holding something in your hand and drop it….not that I would know by experience or anything. Also, have an old rag to wipe your finger on. It will get paint on it.

You may need to add a little extra paint as you go along, but that’s ok. Less is more in this situation.

4. When you are done shaking, you should end up with something that looks like this:

5. Put the balls back into the box they came in, leaving them uncovered, and place it somewhere safe that it will not be disturbed for the next 24(ish) hours so that the paint can dry.

6. Once they are dry (or at least dry enough that the paint isn’t running everywhere) place the top of the ball back inside. Be careful…

7. You can stop here if you like.

They are pretty and will serve their purpose. Personally, I like to fancy them up a bit, taking them from this:

To this:

The bows are SUPER easy to make… Here’s a photo I got from wantu.taobao.com

Once you are done with the bows, simply hot glue them to the top of the ball, close to the loop that you use to hang the ball.

That’s it! SO easy, right??

Here are a few of the ones I created this weekend:

2013-02-25_10-10-13_4862013-02-25_10-11-09_400

I have three of them hanging in my kitchen window at various lengths. I LOVE them. They add a pop of color in a plain white room overlooking a rather blah scene. Because of the shape and colors they do not make it look like I forgot to take down my Christmas decorations, which adds to my love of them as well. I will get a picture of the window up, just as soon as night comes and the colors will actually show up.


~C


The Jiggly Bits

...because life is funny.

Scary Mommy

Life, How To's, and Other Various Ramblings

threefunnyvoices

Life, How To's, and Other Various Ramblings